
If you’ve ever pulled a tray of potato wedges out of the oven only to find them pale and limp instead of golden and crispy… you’re not alone.
But here’s the good news: crispy baked potato wedges don’t require deep frying, fancy tools, or complicated steps. Just a few smart techniques, the right seasoning blend, and a hot oven.
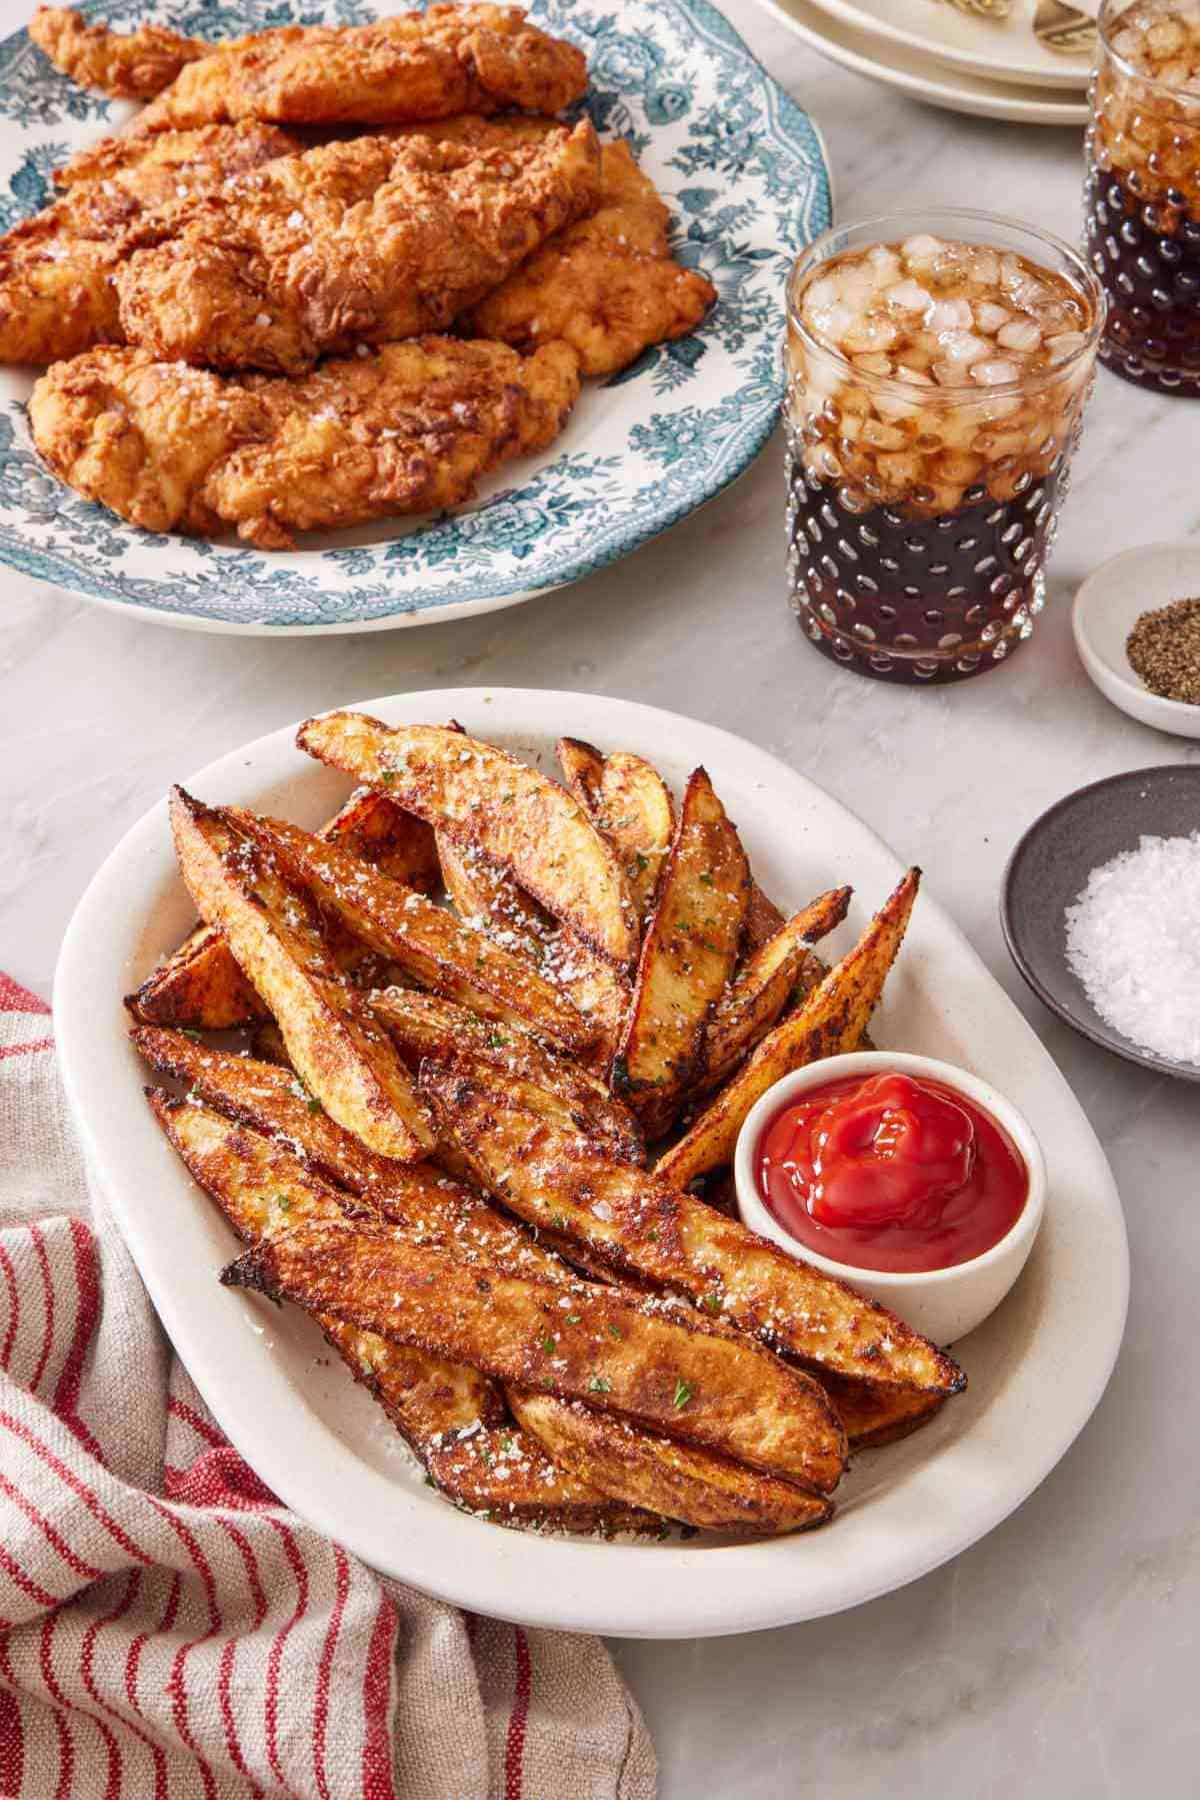
These oven-baked potato wedges come out beautifully golden on the outside, fluffy and tender on the inside, and packed with flavor. They’re the perfect side dish for burgers, grilled chicken, steak, or even served solo with your favorite dipping sauce.
And yes—they’re healthier than traditional fries, making them ideal if you’re looking for healthy side dish recipes, easy dinner ideas, or even budget-friendly family meals that still taste indulgent.
Let’s break down exactly how to make them crispy every single time.
Why These Crispy Baked Potato Wedges Actually Work
Most homemade wedges fail for one reason: too much starch on the surface.
Potatoes naturally contain starch, and when it sits on the outside during baking, it traps moisture. That moisture turns into steam—and steam is the enemy of crispiness.
The fix?
A simple cold-water soak.
The 2-Step Crisping Strategy:
- Soak in cold water
- Bake at high heat (425°F)
That’s it.
Soaking pulls excess starch from the surface. Baking at a high temperature seals the outside quickly, creating that crave-worthy crisp while keeping the inside soft and fluffy.
No frying. No heavy batter. No special equipment.
Just smart technique.
Ingredients for the Best Oven-Baked Potato Wedges
You don’t need anything complicated here. Just pantry staples.
🥔 Potatoes (The Star of the Show)
- Russet potatoes are the best choice.
- High starch
- Fluffy interior
- Crisps beautifully
You can also use Yukon Gold, but Russets deliver the most dramatic crunch.
🧂 Seasoning Blend (Simple but Flavorful)
This combo creates bold, balanced flavor:
- Salt
- Black pepper
- Garlic powder
- Onion powder
- Paprika
Want to switch it up? Try:
- Cajun seasoning
- Ranch seasoning powder
- Smoked paprika
- Italian seasoning
- Taco seasoning
These variations are great if you’re creating game day snacks, air fryer side dishes, or fun Pinterest-worthy dinner boards.
🫒 Oil (Essential for Crisping)
A light coating of olive oil helps:
- Seasonings stick
- Edges caramelize
- Exterior turn golden and crispy
No oil = dry, dull wedges.
🧀 Parmesan Cheese (The Secret Upgrade)
Finely grated Parmesan adds:
- Extra crispiness
- Deep savory flavor
- Gorgeous golden crust
Use very finely shredded cheese so it melts and crisps instead of clumping.
🌿 Fresh Herbs (Optional but Worth It)
Chopped parsley adds freshness and color.
You could also use:
- Fresh rosemary
- Thyme
- Chives
Step-by-Step: How to Make Crispy Potato Wedges in the Oven
Step 1: Wash and Cut
Scrub the potatoes clean (leave the skin on—it gets crispy and delicious).
Cut each potato in half lengthwise.
Then cut each half into 4 wedges.
You’ll get 8 wedges per potato.
Try to keep them similar in size so they bake evenly.
Step 2: Soak in Cold Water (The Game-Changer)
Place wedges in a bowl of cold water and soak for 30 minutes.
Important:
- Do NOT use warm water.
- Do NOT skip this if you want maximum crispiness.
If you’re short on time, even 15–20 minutes helps.
Step 3: Dry Thoroughly
Drain the potatoes and pat them completely dry with paper towels.
Moisture = steam.
Steam = soggy wedges.
Take the extra minute. It’s worth it.
Step 4: Season Generously
In a large bowl:
- Toss wedges with olive oil.
- Mix your seasoning blend separately.
- Sprinkle seasoning over potatoes.
- Toss again until evenly coated.
If using Parmesan, mix some in now and save a little for after baking.
Step 5: Bake at High Heat
Preheat oven to 425°F.
Lightly oil a metal baking sheet (don’t use parchment paper if you want maximum browning).
Place wedges cut-side down in a single layer.
Very important:
- Leave space between each wedge.
- Do not overcrowd.
Bake for:
- 20–25 minutes
- Flip
- Bake another 10–15 minutes
The longer they bake, the crispier they get.
Look for:
- Deep golden color
- Crispy edges
- Soft center when pierced
Pro Tips for Extra Crispy Results
Want restaurant-quality texture? Follow these:
- ✔️ Use a heavy metal sheet pan
- ✔️ Oil the pan itself
- ✔️ Avoid parchment paper
- ✔️ Don’t stack or crowd wedges
- ✔️ Flip halfway through baking
- ✔️ Let them rest 2–3 minutes before serving
Small details. Big difference.
Can You Make These in an Air Fryer?
Absolutely.
If you love air fryer recipes or quick dinner sides, wedges cook beautifully in an air fryer.
General guideline:
- 400°F
- 15–20 minutes
- Shake halfway
They’ll be slightly crispier on the outside and cook faster.
Perfect for busy weeknights.
Best Dipping Sauces for Potato Wedges
Let’s be honest. Half the fun is the dip.
Here are crowd favorites:
- Classic ketchup
- Garlic aioli
- Ranch dressing
- Chipotle mayo
- Honey mustard
- Spicy sriracha mayo
- BBQ sauce
Pair them with grilled chicken, burgers, steak, or even baked fish.
They also make an incredible side for family dinner recipes, easy comfort food meals, and even casual backyard gatherings.
Storage and Reheating Tips
Got leftovers? Lucky you.
Store:
- In an airtight container
- Refrigerate up to 4 days
Reheat (for best texture):
- Oven at 400°F for 8–10 minutes
or - Air fryer for 5–7 minutes
Avoid microwaving—they’ll lose their crisp.
Why This Recipe Is Perfect for Pinterest & Busy Families
These wedges check all the boxes:
- Budget-friendly ingredients
- Kid-approved
- Great for meal prep
- Healthier than deep frying
- Easy to customize
- Perfect for entertaining
If you’re building a food blog, meal planning board, or saving high-performing Pinterest recipes, this one fits beautifully into:
- Easy side dishes
- Healthy comfort food
- Oven-baked recipes
- Game day snacks
- Dinner ideas for families
They look gorgeous on a platter and photograph beautifully—golden edges, fresh herbs, dipping sauce on the side. Pinterest gold.
Final Thoughts: The Secret to Perfect Potato Wedges
Crispy baked potato wedges aren’t about luck.
They’re about:
- Removing surface starch
- Using high heat
- Avoiding overcrowding
- Drying thoroughly
Once you try them this way, you won’t go back.
They’re simple. Comforting. Crowd-pleasing. And just crispy enough to compete with fries—without the fryer.